
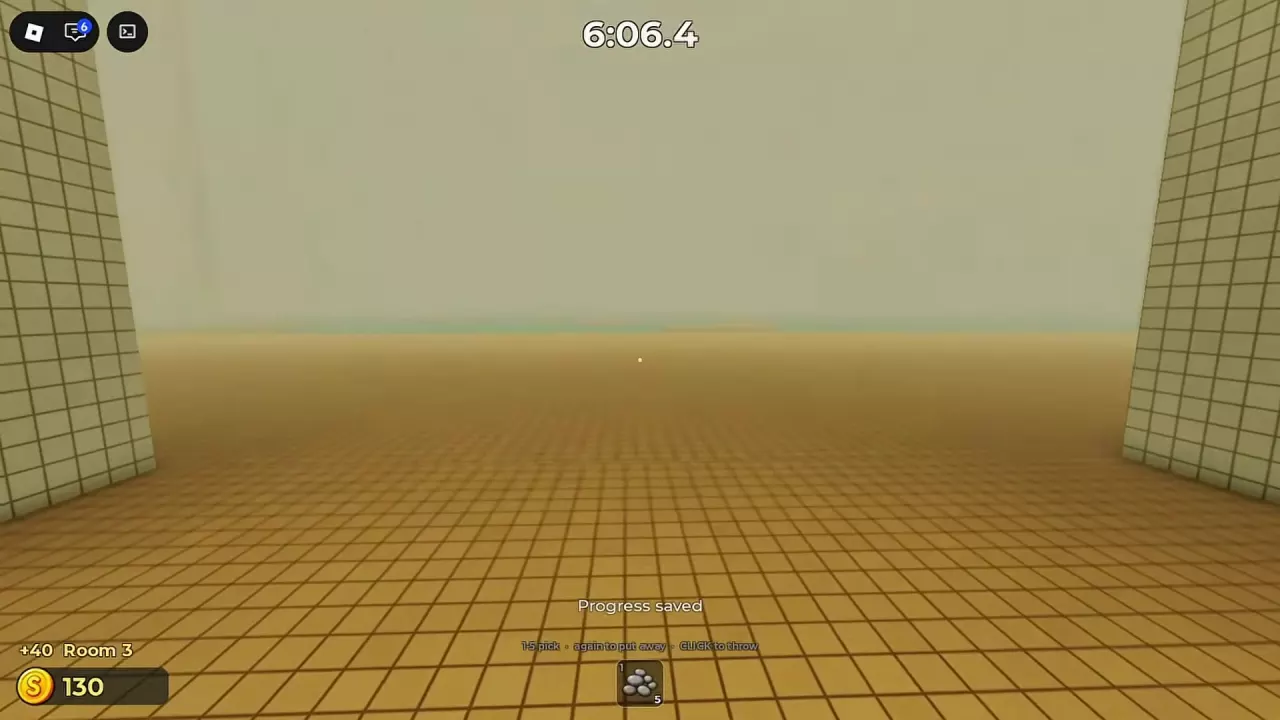
Follow the yellow tiled platforms and black arrows. After crossing the platforms between the large columns, reach the continuous yellow floor and look for “Progress saved” alongside “Room 3.” At the rotating platform, wait on the preceding fixed platform until the long strip roughly aligns with the route ahead. Jump onto its near end, move along it, and jump from the far end to the next rectangular platform.
Follow the Yellow Platforms and Black Arrows
- Jump across the separated yellow tiled platforms toward the dry corridor. Turn to face each landing before jumping; the platforms vary in size and spacing.
- In the dry passage, look for black arrows on the walls and floor. Use them to orient yourself toward the next pool area.
- Continue across the platforms between the large columns, working toward the continuous yellow tiled ground.
Recognize the Room 3 Save Point
The Room 3 save point is on the continuous yellow tiled floor reached after the water platforms and large columns. On arrival, “Progress saved” appears automatically alongside the Room 3 notification. Look for both messages to confirm that you have reached the save area.
For the cash notification that appears alongside the save message, see Room 3 cash rewards.
Wait, Board, and Leave the Rotating Platform
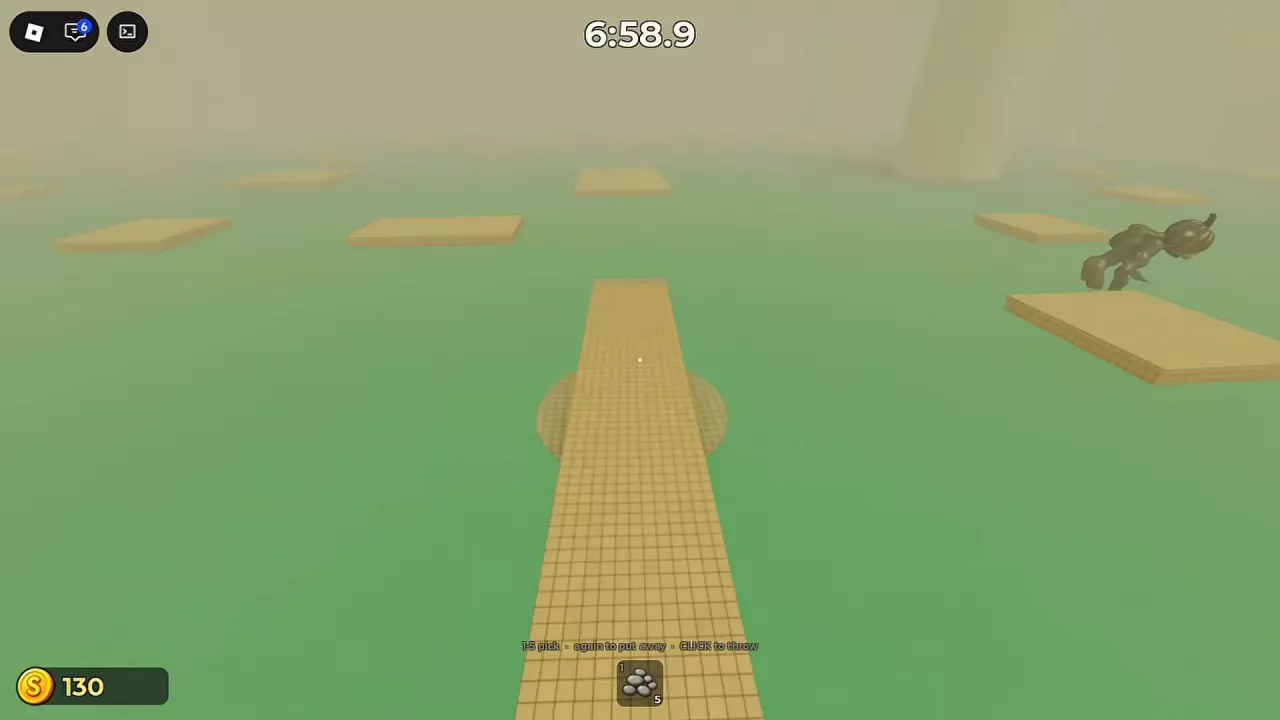
Identify the rotating platform by its long yellow tiled strip and circular base. The strip keeps turning, so use its current orientation to time your crossing.
- Follow the tiled bank beside the left wall. Turn toward the neighboring rectangular platform and jump across the gap.
- Continue across the approach platforms, adjusting your direction for each landing, until you reach the fixed platform immediately before the rotating strip.
- Wait there while the strip turns. Watch for its length to line up roughly front-to-back with your route toward the next fixed platform.
- Jump onto the near end when it aligns, then move along the strip toward the far end.
- Jump from the far end onto the rectangular platform ahead. From that fixed landing, continue through the pool area.
Watch the Monster Before Your Next Jump
Turn the camera to track the pumpkin-headed monster as you approach the rotating section. If it comes close on your left, keep it in view as it passes. From the platform before the rotating strip, watch its movement while also checking the strip’s orientation.
Choose your crossing moment using both the monster’s current position and the platform’s alignment. The creature can approach platform edges from the front or side, so keep checking the surrounding water while you wait. See the monster encounter guide for its hearing rule and other platform encounters.
Continue to the Valve or Rising-Water Stage
- Looking for the first valve? Find the gray-green Maintenance control cabinet with a red valve wheel on the wall-side platforms, then follow the first valve guide for the approach and interaction.
- Already seeing the rising-water warning? Use the high glowing doorway between the large columns to locate the ascending yellow blocks, then follow the stairs and exit route.